In this guide we will convert a GTA San Andreas save from NTSC to PAL
It is important to note that the method is the same if changing from PAL to NTSC and does not differ for other games.
The format of the save you wish to convert is not important so long as PS2 Save Builder can load it and supports saving in your desired format
Approximately 99% of saves can be converted between PAL and NTSC.
First, you must know the Product ID of the game you want to use a save with. This can be found on the box, on the game disc and ideally, in one of your own saves (if you don’t have one yet quickly create one)
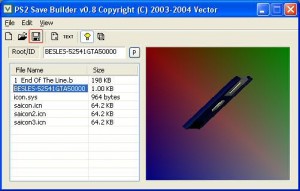
A lot of people get confused when first using PS2 Save Builder, to open files you simply hit the Open button (marked with the red square in the picture) or use the File Menu, dragging and dropping files onto the program adds them to the currently opened save.
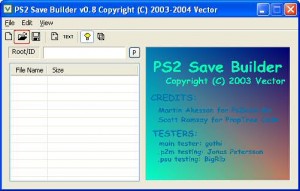
To start I load up my own GTA San Andreas save in PS2 Save Builder
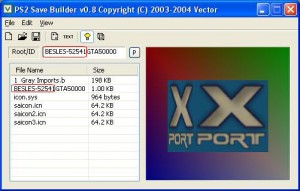
Take note of the Root/ID section I’ve highlighted, this is what we are going to change. You will also notice that there is a file that is named the same as the Root/ID section, 99% of games have this and this file must also have it’s name changed (as do any other filenames that contain the Root/ID)
Having noted the Product ID that my PAL copy of the game uses I open up the NTSC save I want to use in PS2 Save Builder
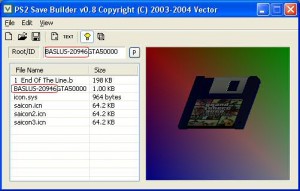
Immediately you can see the differences between the files. Replacing the Root/ID is as easy as typing in the new one however changing the filename is not so obvious.
You must click on the file so it is highlighted and then click again (this is not the same as double clicking, also do not leave it too long between clicks) This should now allow you to alter the filename as seen in this image
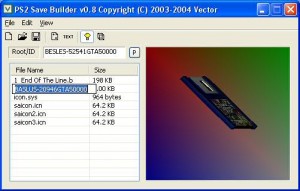
Alternatively you can extract the file, delete it in PS2 Save Builder, change the filename in Windows and then add it back to the save, however the above method is much faster and easier.
All that is left now is to save the GTA: SA save in the desired format (dependant on which save transfering device you own), send it back to the PS2 memorycard and enjoy 🙂
